

Coastal embroidery usually fails in one of two ways. Either the sea becomes a row of identical blue snakes, or the shells look like buttons sewn onto a cushion. Both problems come down to stitch choice rather than skill. A wave worked in satin stitch goes stiff and glassy. A whelk outlined in backstitch reads as a sticker. The five stitches below are the ones worth keeping close for shoreline work — not because they are obscure, but because each one solves a particular problem of curve, fill or texture. Use them as a sampler, or take the two that suit the piece in front of you.
1. Stem Stitch: Wave Lines and Long Shoreline Curves
Anything that has to travel — the long diagonal of a breaking wave, the sweeping boundary between wet sand and dry, the sag of a fishing net — belongs in stem stitch. It produces a continuous, faintly corded line that bends without the faceted look you get from backstitch.
Working rhythm
Work left to right if you are right-handed. Come up on the line, take a short stitch forward along it, and bring the needle back up roughly halfway along that stitch, keeping the working thread below the needle. Every new stitch starts inside the previous one, which is what creates the twist. Aim for stitches of even length; uneven ones show up badly on a gentle curve.
Where it earns its keep
- Wave crests: tighten the angle of your stitches at the curl, then relax them along the trough. The change in tension reads as movement.
- Horizon lines: two strands of stranded cotton on medium linen gives a line with enough weight to hold a composition together.
- Foam: switch to split stitch here. It sits rounder and beadier than stem stitch, closer to the look of bubbling water along a shallow edge.
One caution: keep the line single. Doubling back over a stem-stitched curve to thicken it flattens the twist and undoes the whole reason for using the stitch.
2. Satin Stitch: Shell Bodies and Solid Shapes
Satin stitch fills a shape with straight stitches laid side by side. For a scallop, a cowrie or a limpet it is the obvious choice, provided you resist the urge to fill the outline exactly.
Outline first
Work a split-stitch or backstitch outline around the shape before you fill it. The satin stitches then sit against something solid instead of sinking into the fabric at the edges, and you get a crisp rim without guesswork. On a large shell, one row of padding stitches through the centre also helps the fill sit proud of the surface.
Follow the growth lines
Direction is what separates a shell from a lozenge. Stitches should run along the shell's natural lines: fan them out from the hinge on a mussel, radiate them from the apex on a limpet, follow the ribs on a scallop. The ridges will look carved rather than drawn.
Keep the stitches close but not overlapping, and don't pull the last thread of each stitch so hard that the fabric puckers. If the shape is wider than about 2 cm, split it into sections and work them in turn, otherwise the stitches start to sag.
3. Bullion Knot: Spiral Shells, Pebbles, Urchins
The bullion knot is a coiled knot worked over a backstitch, and it is the most convincing way to make a spiral shell. The trick is matching the length of the backstitch to the size of the knot you want: a backstitch of about 8 mm with eight to ten wraps makes a small whelk; shorten both for a periwinkle.
When it fights back
Bullions fail for two reasons. Either the wraps are pulled too tight to slide off the needle, or the needle is too short and the wraps bunch at the eye. Use a milliner's needle, which has a long shaft and a narrow eye, and hold the wraps steady with your thumb as you draw the needle through. If the knot still refuses, unwind and start again with fewer wraps — a slightly loose bullion sits better than a tight one.
Scattered bullion knots also make good pebbles and sea-urchin spines. Work them in a slightly darker shade than the surrounding fabric and they will read as depth rather than decoration.
4. French Knots: Sand, Spray, Barnacles
French knots are the standard answer for sand, and it is worth knowing that a whole beach of them takes a very long time. Use them where they count: a scattered band along the lower edge of the design, a cluster under a rock, a few flicked across the crest of a wave as spray. Two wraps around the needle gives a firm, even knot; a single wrap is finer and better for mist.
Density without madness
Mix French knots with seed stitches and a few tiny straight stitches so the sand has variation rather than a uniform nubby carpet. Vary the number of strands between knots — one here, three there — and the surface begins to look like grit rather than beads. Come up and go down in slightly different holes each time; working the same hole repeatedly pulls the knot through to the back.
5. Blanket Stitch: Scallop Edges and Netting
Blanket stitch is usually taught as an edge finish, but for coastal work it does two useful decorative jobs. Worked evenly around a scallop shell it gives the ridged, slightly toothy edge those shells actually have. Worked in rows with the loops linked, it suggests netting, seaweed fronds or the ribbing of a dinghy.
Keep the spacing consistent — the loop depth should equal the distance between loops, or the rhythm collapses. Bring the needle up on the lower line, pass the thread under the needle, and pull gently upward rather than sideways so the loop sits square on the edge.
The Practice Checklist
Before committing any of this to a finished piece, spend five short sessions on a single square of cotton twill or medium linen, about 20 cm. It is the least glamorous part of the process and it saves the most time.
- Session one — stem stitch. Stitch three lines: a straight one, a shallow S-curve, and a tight half-circle. Aim for even stitch length and an unbroken twist. Then work one line in split stitch and compare the two.
- Session two — satin stitch. Draw a circle and two shell outlines. Outline each in split stitch, then fill one with stitches running horizontally and one following the shape's curves. Note how much crisper the curved fill looks.
- Session three — bullion knots. Work five knots at 6 mm, 8 mm and 12 mm, adjusting wraps to match. Label the ones that came out well so you know your working ratio.
- Session four — French knots. Fill a 3 cm square with knots in three different thread weights. Learn how far apart they can sit before the texture breaks up.
- Session five — blanket stitch. Work a 10 cm straight edge, then a curve. Check the loop depth against the gap between loops each time.
Keep the sampler. In six months it will tell you more about your own tension than any tutorial can.
Thread, Fabric and Finishing Notes
Use a fabric with a visible weave and enough body to hold stitches — linen, cotton twill, osnaburg. A hoop keeps the tension even, but take the work out between sessions so the weave doesn't stretch. Stranded cotton is fine for all five stitches; perle cotton No. 8 gives bullions and blanket stitch a firmer, more graphic line, while a single strand of floss is better for fine wave detail.
Colour does most of the work in coastal pieces, and restraint pays. Two blues, an off-white, a sand tone and one grey-green will carry an entire shoreline. Save the strong colour for the smallest element — the inside of a shell, a single dark pebble — and let the rest sit quietly. Press the finished work face down on a towel, never directly, and the stitches will stay raised rather than flattening into the cloth.
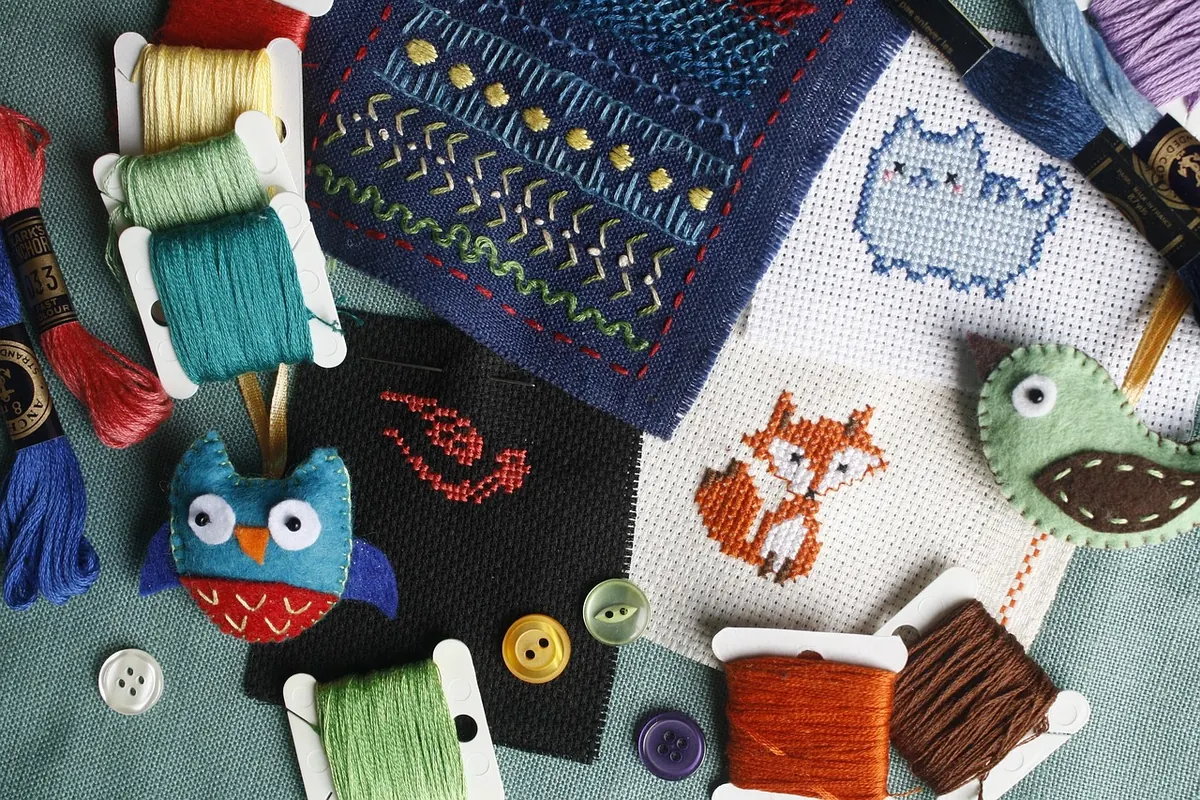
Photo: bluemorphos / Pixabay